
2. Open BrightAuthor:connected and make sure you DO NOT click on the connect to

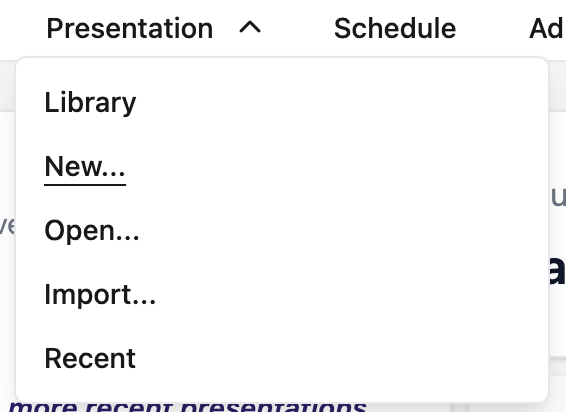
3. Click on the “New Presentation” button on the Dashboard, or from the main menu you can click on Presentation > New

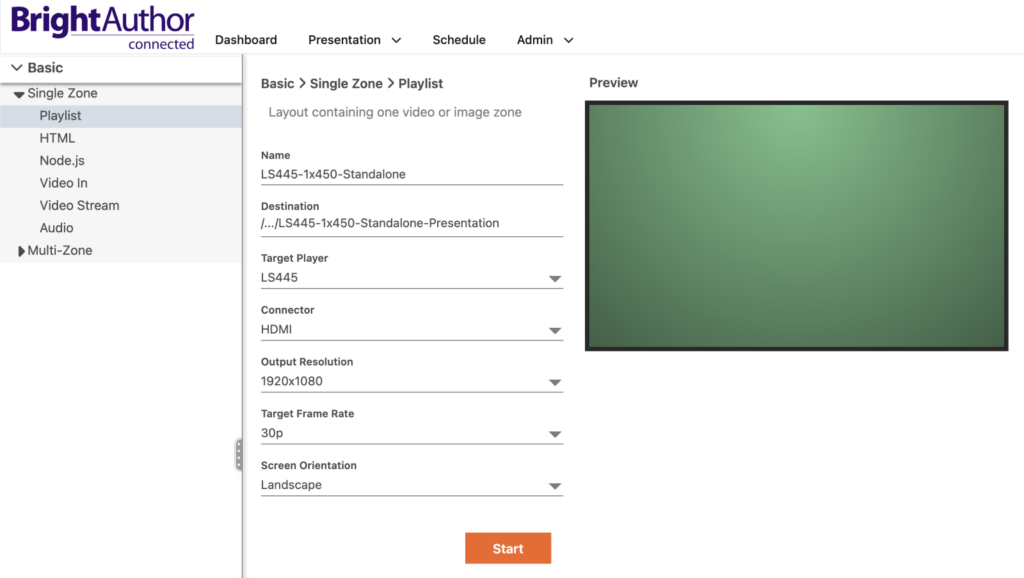
4. Configure the new Sigle Zone presentation:
Name: Use the name of the player (LS445), the raster size (1×450 if its 1920×450, and 1×720 if it is 1920×720), and “Standalone”, along with any additional labels you would like to add.
Name example: LS445-1×450-Standalone-Presentation
Destination: Create a folder on your Desktop or any other folder of your choosing to save the presentation file.
Target Player: LS445
Connector: HDMI
Output Resolution: 1920×1080
Target Frame Rate: 30p
Screen Orientation: Landscape
Then click on the “Start” button
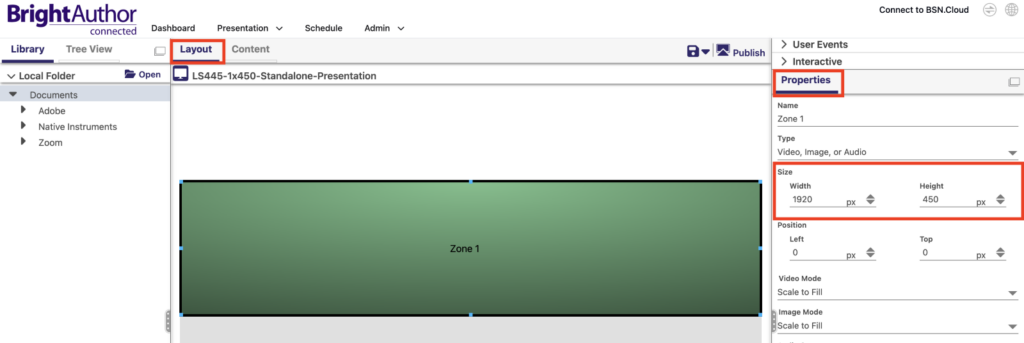
5. In the “Layout” tab, click on the “Properties” section on the right panel, and in the “Size” section change the “Height” to the height of your screen, in this example we are going to use 450 since the screen is 1920×450, then click on the “tab” key on your keyboard.
6. Click on the “Open” button on the left panel, then select the local folder where your content is located, and the content will show up inside the “Assets” panel below.
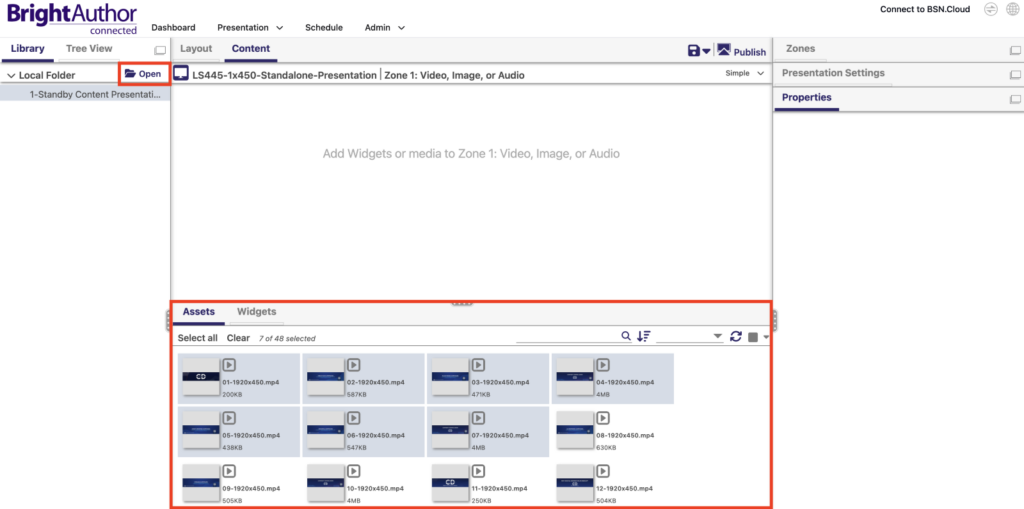
7. Select all the content you would like to add to your presentation from the “Assets” panel and drag it to the empty space above.
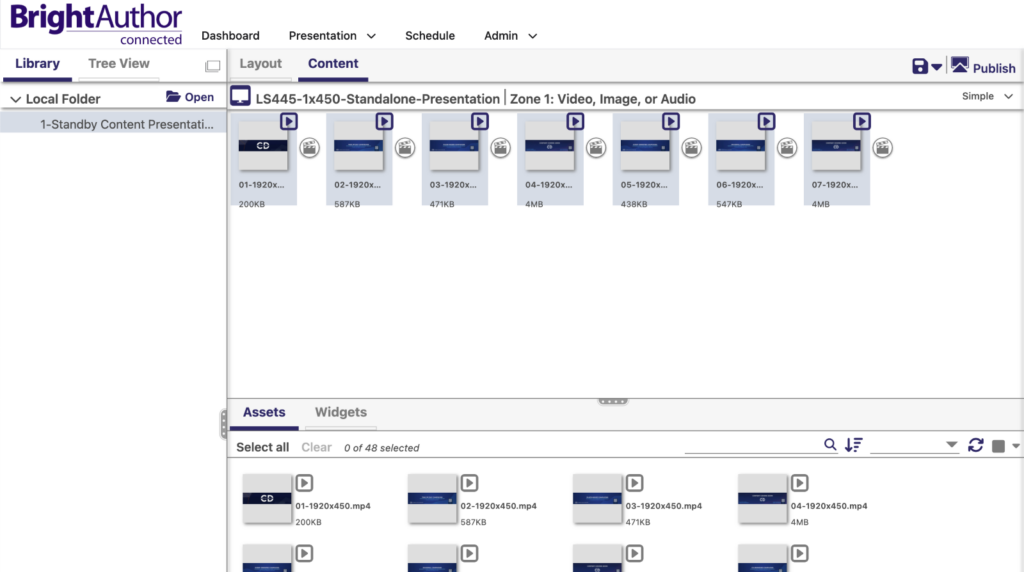
8. Click on the Save icon on the left of “Publish“.
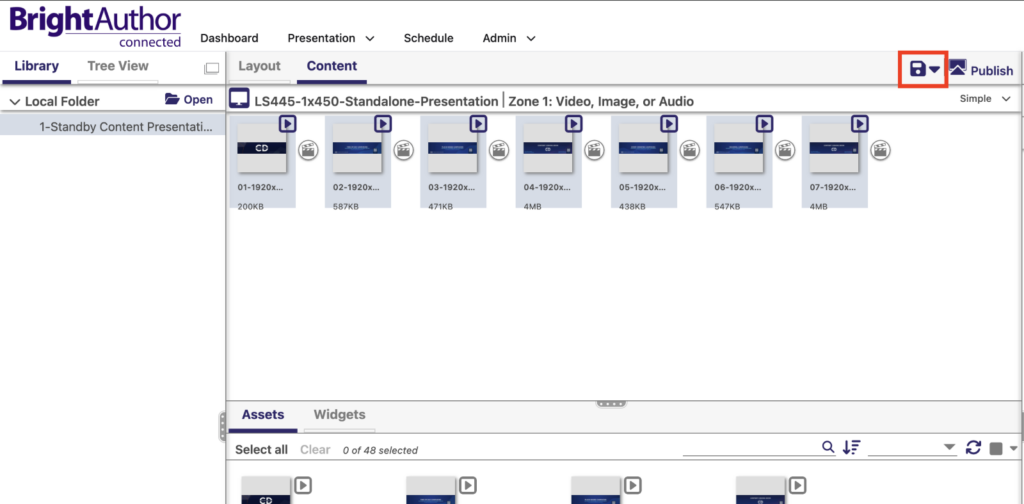
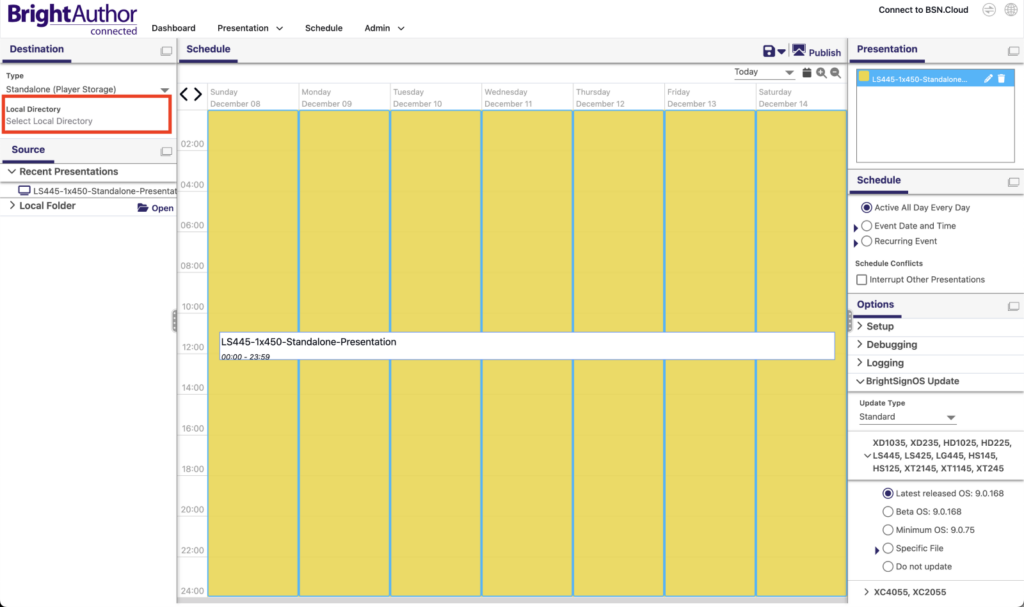
9. Click on the “Publish” button which will take you to the next screen to start the publishing process.

10. Click on “Local Directory” on the left panel to select a different local folder where to publish the content
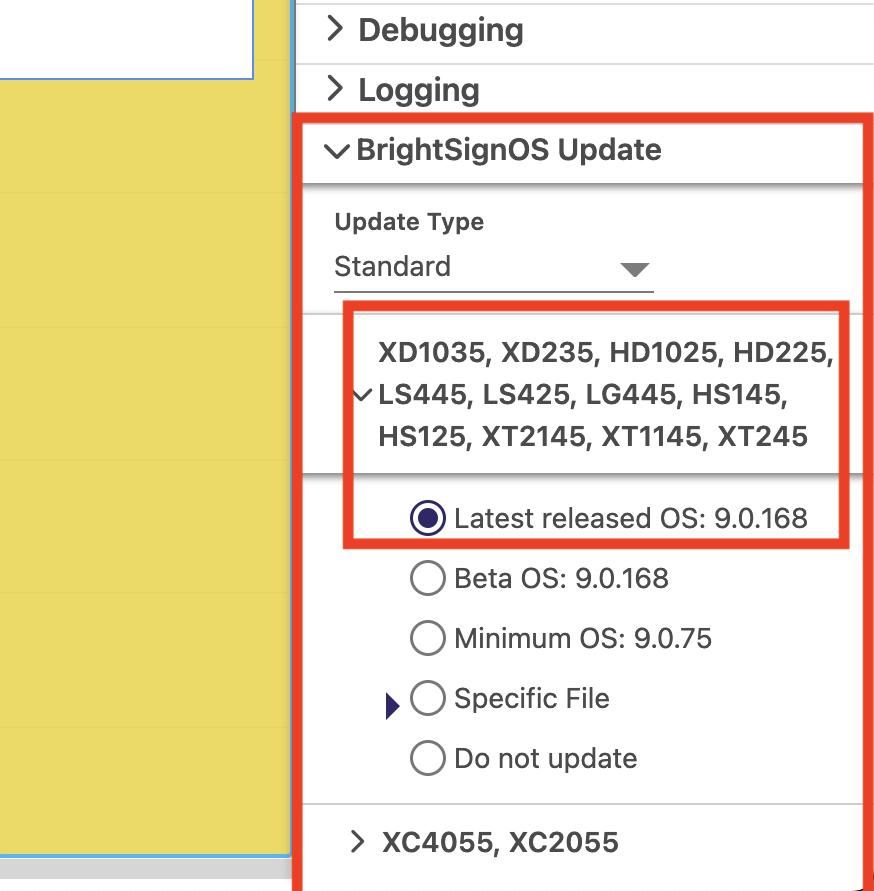
11. On the right panel click on “BrightSignOS Update”, click on the first option with a down arrow where it says “LS445” on the list of different players, and click on the first option where it says “Latest released OS:”
12. Click on the “Publish” button, this will start the process to copy the presentation and files to the local folder you selected.

13. Copy the files to your USB thumb drive or Micro SD card.
